
Frosting, Fillings & Decorating
How to Get Smooth Buttercream on a Cake
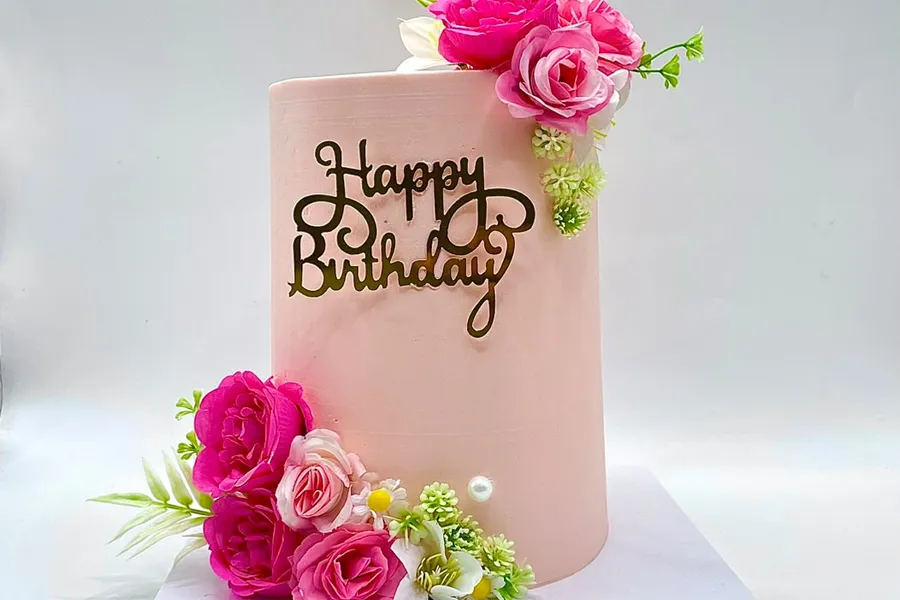
A smooth buttercream finish looks professional, and it comes from a few repeatable steps rather than a special talent. The big wins are a level, cooled cake, a good crumb coat, buttercream at the right consistency and patience while you chill and smooth.
Results depend on your buttercream, your kitchen’s temperature and your tools, so adjust as you go.
Before you start
- Use cooled, levelled layers. See how to level and stack cake layers. A wobbly or domed cake is hard to cover smoothly.
- Make enough frosting. Running short midway leads to thin patches. Our classic buttercream recipe covers a two-layer 20 cm cake with a thin coat; make more for a thicker finish.
- Gather your tools: a turntable (or lazy Susan), a straight or offset spatula, a bench scraper, and a cake board or plate the same size as the cake.
- Keep the buttercream at a soft, spreadable consistency. Too cold and it tears the cake; too warm and it slides.
Step by step
1. Stack and fill
Put a dab of buttercream on the board to hold the first layer in place. Fill between the layers evenly, and pipe a ring of buttercream round the edge if the filling is soft, so it doesn’t bulge out.
2. Apply the crumb coat
A crumb coat is a thin first layer that traps loose crumbs. Spread a thin layer over the top and sides. It doesn’t need to look neat.
3. Chill the cake
Chill the cake until the crumb coat is firm to the touch, usually about 20 to 30 minutes in the fridge. A firm crumb coat gives you a stable surface for the final coat. Remember that a cake with fresh cream, custard or cream cheese in it should stay refrigerated for food safety, and see our guide to storing a birthday cake.
4. Apply the final coat
Add a generous amount of buttercream, more than you think you need, to the top and sides. It’s easier to scrape excess off than to patch gaps.
5. Smooth the sides
Hold the bench scraper straight against the side of the cake at a steady angle and turn the turntable in one smooth rotation. Scrape the excess off the scraper onto the bowl each time and repeat until the sides look even.
6. Smooth the top
You will see a ridge of buttercream around the top edge. Using a clean spatula, sweep from the outer edge in toward the middle, wiping the spatula between passes.
7. Final smoothing
Warm the scraper or spatula in hot water, dry it, and make one more gentle pass. This melts the very surface of the buttercream and evens out small marks. Chill briefly if you want the finish to set.
Fixing common problems
| Problem | Cause | Fix |
|---|---|---|
| Crumbs in the frosting | Skipped or thin crumb coat | Apply a crumb coat and chill it before the final coat |
| Air bubbles | Buttercream whipped on high speed | Beat on low for a minute; press out bubbles with the spatula |
| Ridges and streaks | Too little frosting, scraper moved unevenly | Add more buttercream; keep the scraper steady and turn the cake in one motion |
| Frosting sliding or sagging | Buttercream or kitchen too warm | Chill the cake and the frosting, and work in a cooler spot |
| Torn surface | Buttercream too cold or cake too crumbly | Soften the buttercream slightly; chill the cake before the crumb coat |
| Uneven edges | Cake not levelled or stacked straight | Level the layers and check with a straight edge |
A note on transport
A freshly smoothed cake is fragile. See how to transport a decorated cake safely if it has to travel.
Frequently asked questions
Do I need a turntable and a bench scraper?
They make the job much easier, because turning the cake while holding a scraper still gives the smoothest sides. You can manage with a lazy Susan or a plate on a tall tin, and a straight-edged spatula, but expect to take more care.
What temperature should the buttercream be?
Smooth, spreadable and not greasy. If it is runny, chill it briefly and re-beat it; if it is stiff, beat in a little milk.
Keep reading
Classic Buttercream Frosting Recipe
A simple American-style buttercream of butter, icing sugar and vanilla, enough to fill and thinly cover a two-layer 20 cm cake, with troubleshooting tips. Baking Techniques & Troubleshooting
How to Level and Stack Cake Layers
How to trim, level and stack cake layers so the cake sits straight: tools, cooling, filling, dam technique and fixing a leaning cake.How to Keep a Cake Moist Without Making It Dense
Practical ways to bake and store a moist cake: avoiding overbaking, using syrup sparingly, wrapping correctly and what to avoid so the crumb stays light. Celebration Cake Planning