
Baking Techniques & Troubleshooting
How to Level and Stack Cake Layers
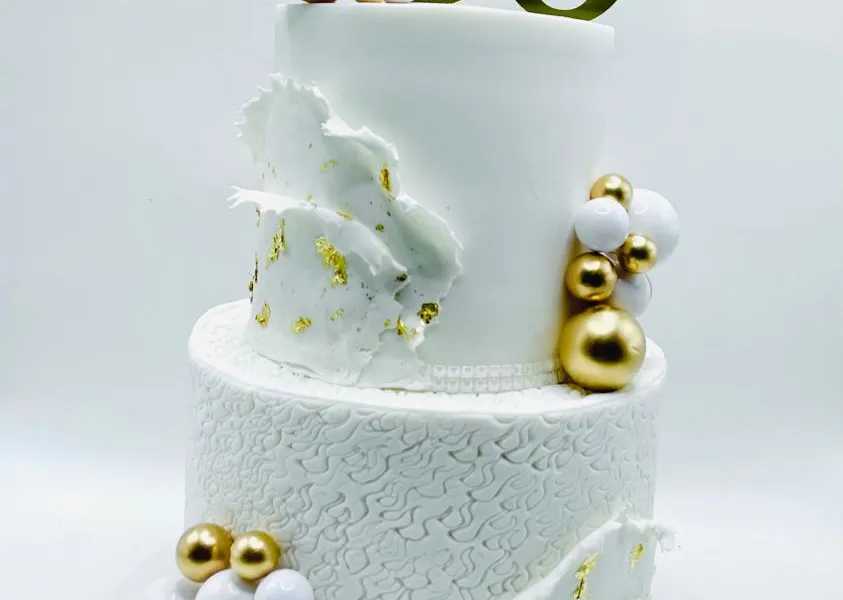
Levelling and stacking is the foundation of a neat cake. A level, even stack makes smooth buttercream much easier, helps the cake stay stable and gives you a flat top for decorating.
Your tools, cake recipe and kitchen all affect how this goes, so adapt the steps to what you have.
What you need
- Completely cooled cake layers
- A long serrated knife or a cake leveller
- A turntable or a lazy Susan (helpful but not essential)
- A cake board or plate
- Buttercream or filling
- A spatula and a piping bag (or a bag made from a zip-lock with a corner cut)
- A ruler or straight edge to check the stack
Step by step
1. Cool completely
Cool your layers fully on a wire rack. Warm cake is fragile and crumbles when cut. If you are working ahead, wrapped layers can be frozen and thawed wrapped; slightly firm, chilled layers are often easier to trim.
2. Level the tops
Most cakes bake with a gentle dome. Place a layer on the turntable and hold the knife level against the cake at the height of the lowest part of the top. Turn the turntable slowly while you saw gently so the blade stays level. Remove the domed top (a cook’s treat) and check that the layer is flat.
3. Trim the edges if needed
If the outer edge is dark or dry, trim it with a thin slice so the sides of the cake are even. Check that the layers are the same size.
4. Place the first layer
Add a dab of buttercream to the board so the cake doesn’t slide, then place the first layer cut-side up. The cut side is flatter and absorbs filling well.
5. Add a dam if the filling is soft
A “dam” is a ring of stiff buttercream piped around the edge of the layer. It keeps soft fillings, such as jam, curd or compote, from squeezing out the sides. Pipe the ring, then spread the filling inside it.
6. Fill evenly
Spread the filling or buttercream evenly, right up to the dam or edge. Aim for a layer about as thick as your finger rather than a thick heap, which makes the stack heavy and tilt.
7. Add the next layer
Place the next layer cut-side down for a flat, sharp top, or cut-side up if it is not perfectly flat. Press gently to settle it.
8. Check the stack
Step back and check it at eye level. Use a ruler against the side to confirm the cake is straight. If it leans, fix it now by gently pushing it back, or, for a bigger lean, remove the top layer and restack.
9. Chill before covering
A chilled stack is more stable to handle. Chill it briefly before the crumb coat, as described in how to get smooth buttercream on a cake. If the filling contains fresh cream, custard or cream cheese, keep the cake refrigerated as needed for food safety.
Fixing common problems
| Problem | Cause | Fix |
|---|---|---|
| Leaning cake | Uneven layers or filling | Level the layers, use even filling, restack if needed |
| Filling oozing out | Filling too soft or too thick, no dam | Pipe a dam of stiff buttercream and use less filling |
| Crumbly cut | Cake still warm | Cool completely, or chill briefly before cutting |
| Gaps between layers | Uneven tops | Level the layers; fill gaps with a little extra buttercream |
| Bulging sides | Too much filling | Use a thinner layer of filling and a dam |
Related guides and recipes
Bake a stable base with our moist vanilla cake, fill it with classic buttercream, and if the finished cake needs to travel, read how to transport a decorated cake safely.
Frequently asked questions
Should I level a cake while it is warm?
No. Cool the layers completely first. A warm cake is soft and crumbles when you cut it, and it melts buttercream.
Can I level a cake with a knife instead of a leveller?
Yes. A long serrated knife works. Use a gentle sawing motion and turn the cake as you cut, keeping the blade level with a mark or ruler.
Keep reading
 Frosting, Fillings & Decorating
How to Get Smooth Buttercream on a Cake
A step-by-step guide to a smooth buttercream finish: preparing the cake, the crumb coat, tools, chilling and fixing air bubbles, ridges and a streaky finish.Moist Vanilla Cake Recipe: Ingredients, Method and Baking Tips
A soft, moist vanilla layer cake made with the creaming method, with metric quantities, oven settings, tips for an even bake and storage advice.Classic Buttercream Frosting Recipe
A simple American-style buttercream of butter, icing sugar and vanilla, enough to fill and thinly cover a two-layer 20 cm cake, with troubleshooting tips. Cake Storage & Care